2007 Corvette Coupe Personal Audio Link (PAL) install.
I had some difficulty removing the connectors from the console front
panel. The wires were not long enough to allow me to see the back
of the connectors and it was not clear to me how to release them.
I took photos of the male and female connectors that had to be
disconnected.
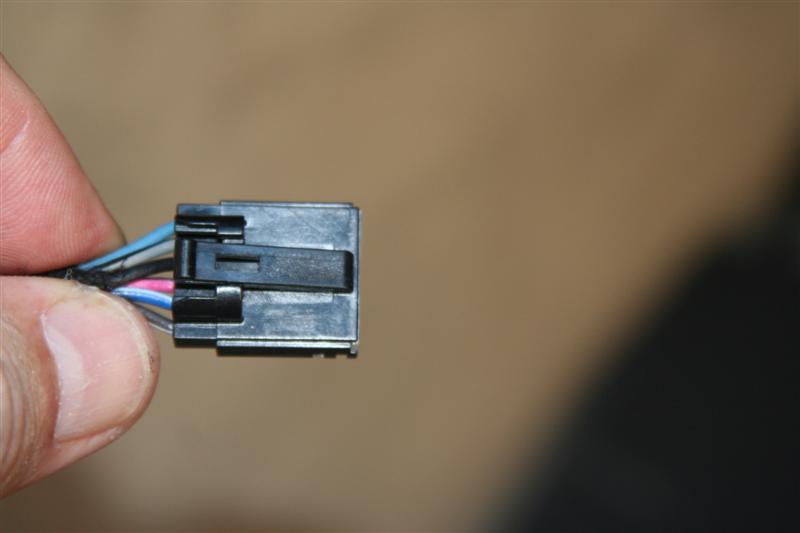
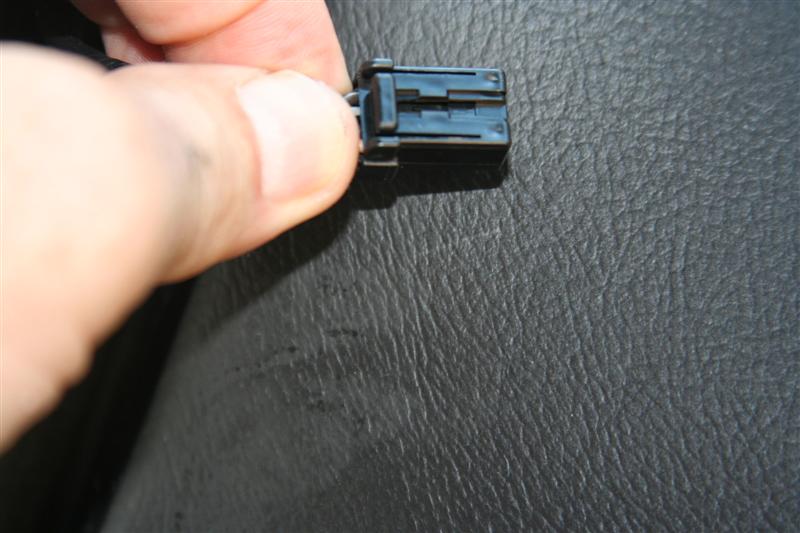
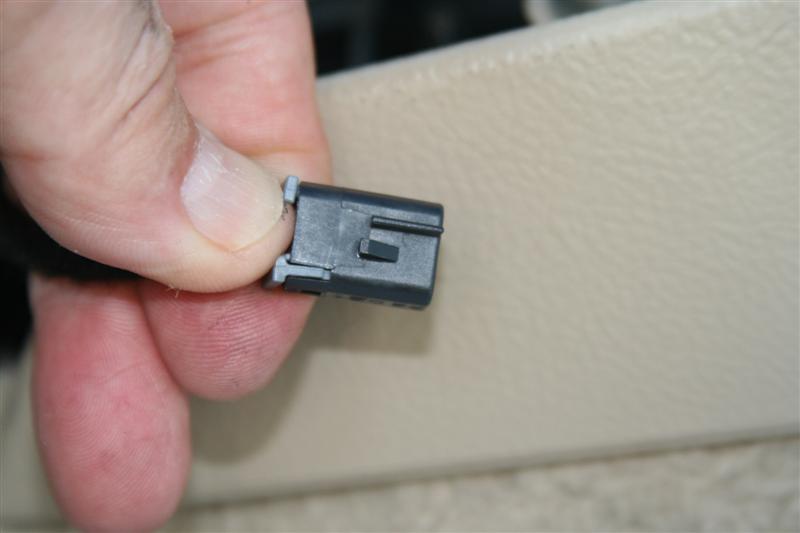
The connectors used for the heated
seats and the hazard switch have small tabs near the back edge of the
female connector that must be pressed toward the wires. Photos of
the cable mounted female connectors are shown below.
Female Heated Seat Connector
Female Hazard Switch Connector
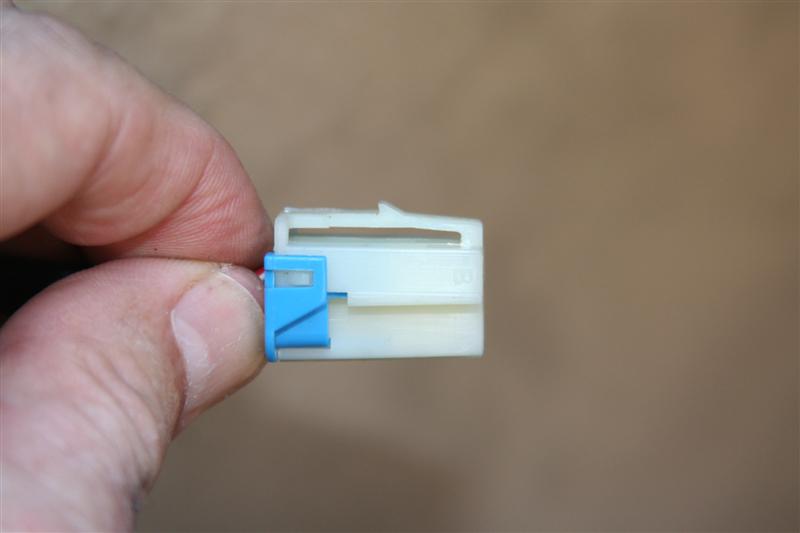
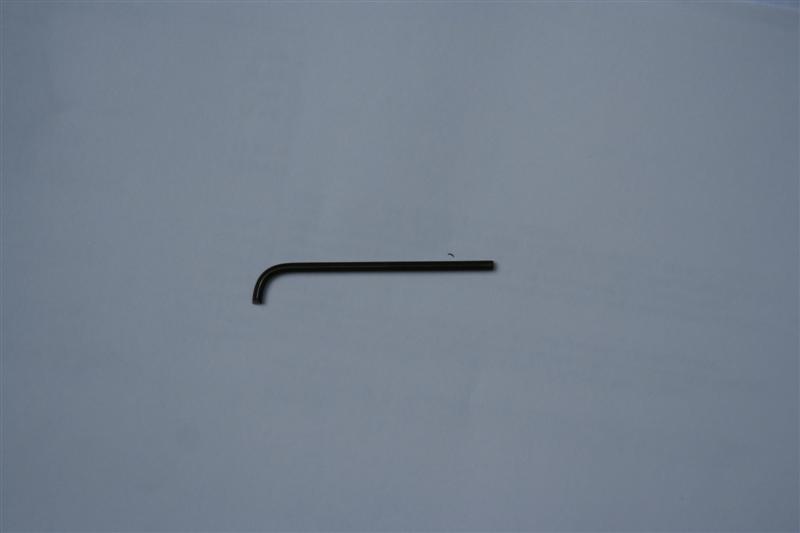
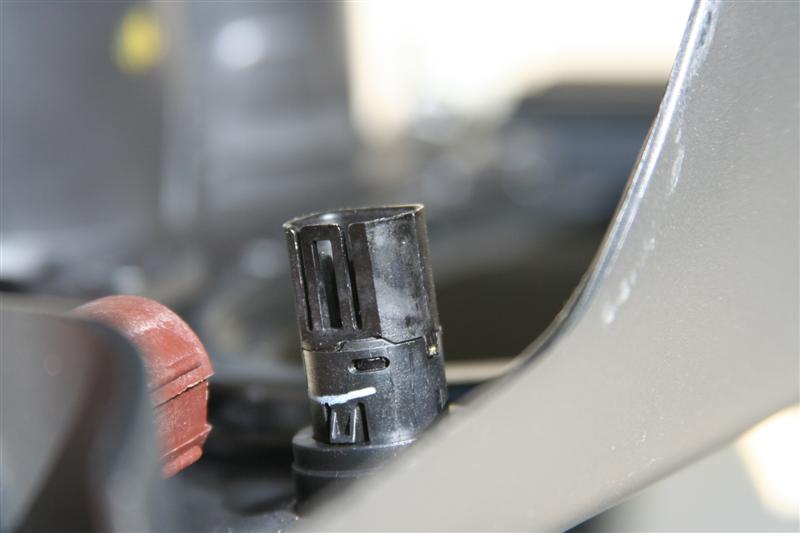
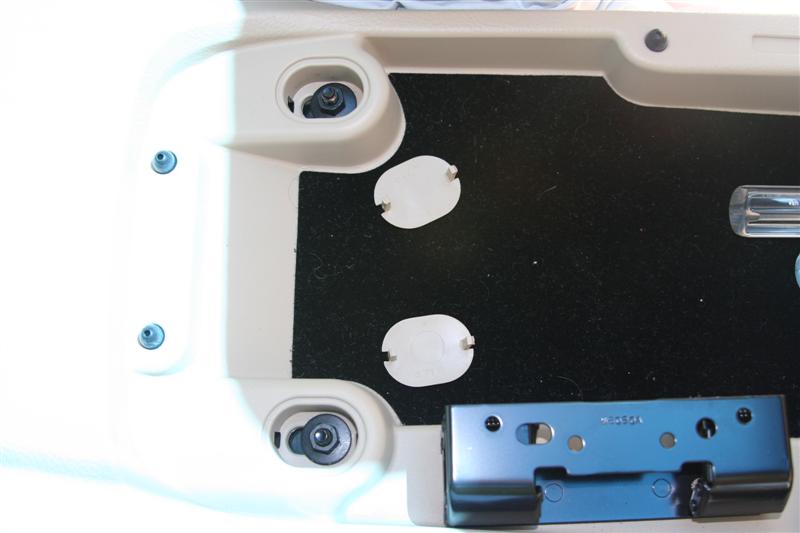
The connector used for the two power jacks are released by inserting a
tool into a hole on the male connector to release the female
connector. My power outlet male was mounted with this hole toward
the console and I needed to modify an Allen wrench to access the
hole. Photos of the panel mounted male, cable mounted female and
modified allen wrench are shown below.
Male Power Outlet (note square hole near rear)

Female Power Outlet (Side View)
Modified Allen Wrench
The connector used for the Traction Control switch has a small lock on
the panel mounted male connector that must be lifted to release the
female.
Traction Control Panel Mounted Male
Traction Control Female
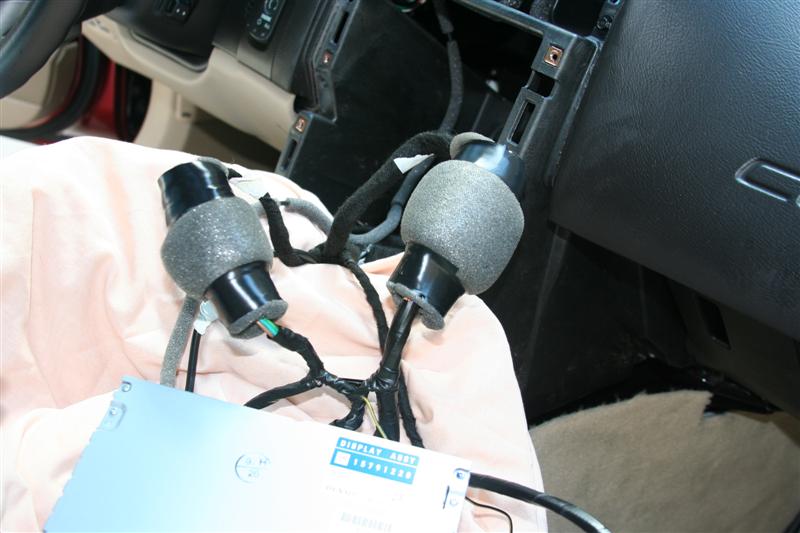
Once I had the cables disconnected from the console, things went much
quicker. I added foam (from a discarded hard drive box) to the
NAV extension cables to prevent rattles. This is not an original
idea, the iPod adapter I purchased from Lexus for my wife's 2008 came
with 1/4" thick adhesive backed foam for the Lexus install.
NAV Extension Cables Before Foam

NAV Extension Cables After Foam
I chose to connect the Class 2 signal from the PAL to the Digital (XM) radio at the XM radio to avoid the hard to access Splice Block.
The following photos show how the rear section of the console was
removed and then how the single wire provided by Ray Kawal was routed.
Removing Rear Console Section
There are two plastic covers over the
two rear mounting bolts. This photo shows the plastic covers
removed with the nuts to be removed viable. NOTE - I removed the console cent cover (4 screws) to make work easier.
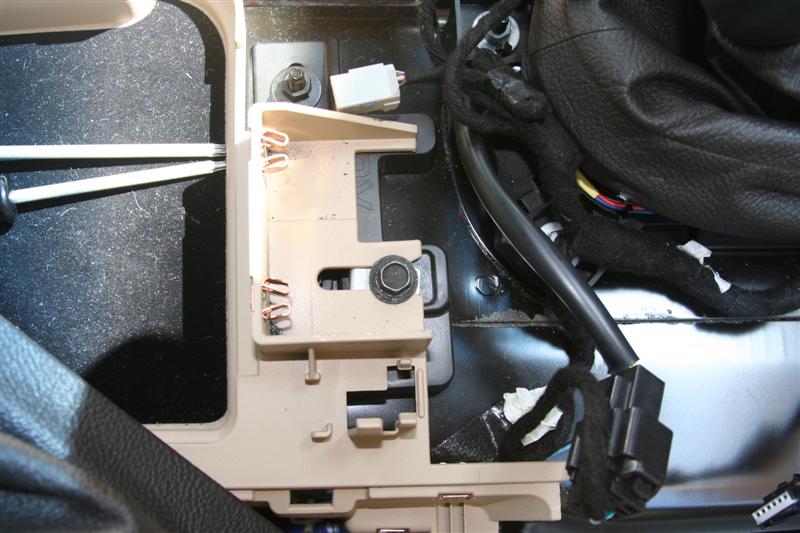
There is one bolt at the front of the rear console section that must be
removed and an inline connector that must be removed from a clip on the
rear console section.
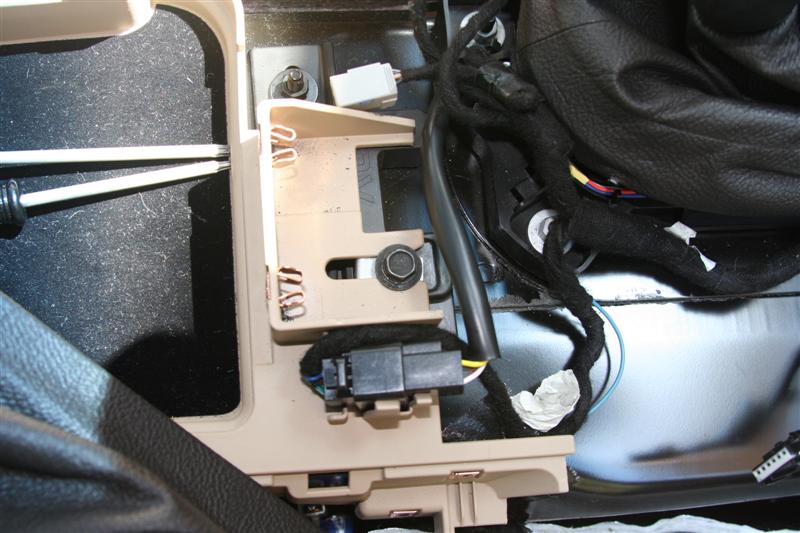
Connector removed from mounting clip
Rear Console section removed
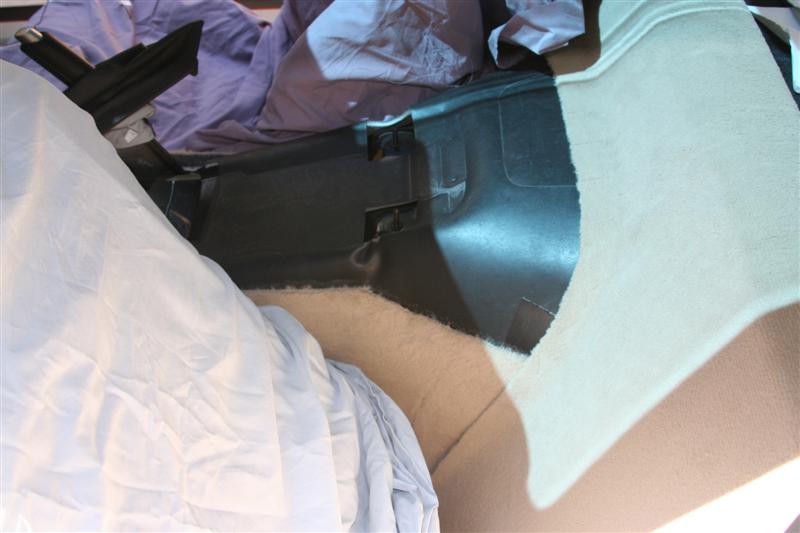
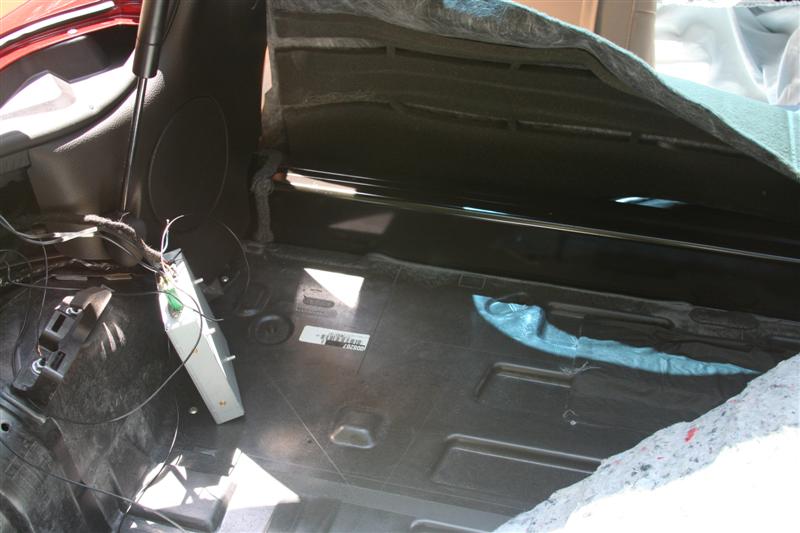
Trunk Floor Carpeting folded back and XM radio removed from clips under
left quarter panel. Carpet behind drivers seat pulled up.
Class 2 wire from Splice Block Removed and new wire added in it's place (pin 15).
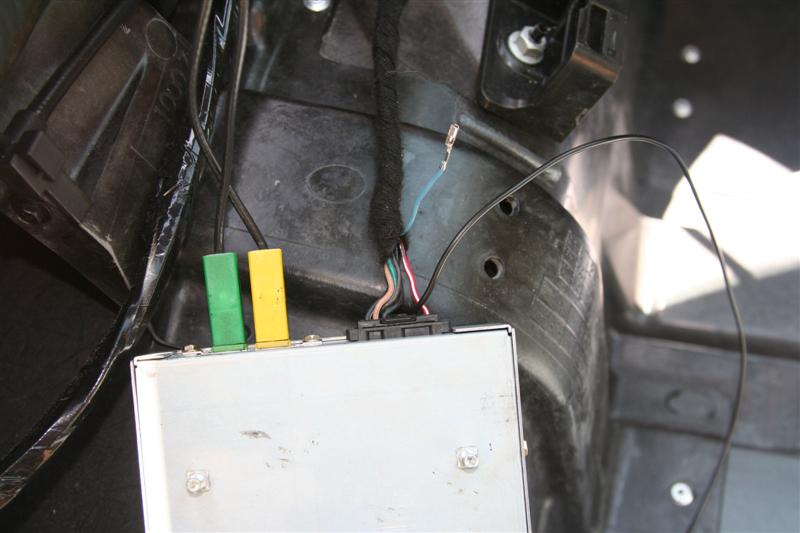
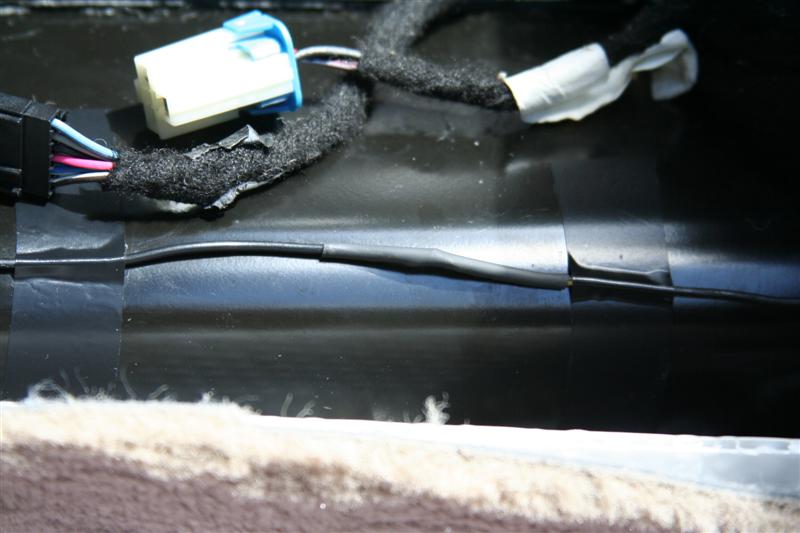
3" long piece of heat shrink tubing placed over original Class 2 wire. I DID NOT shrink it to allow easy removal.
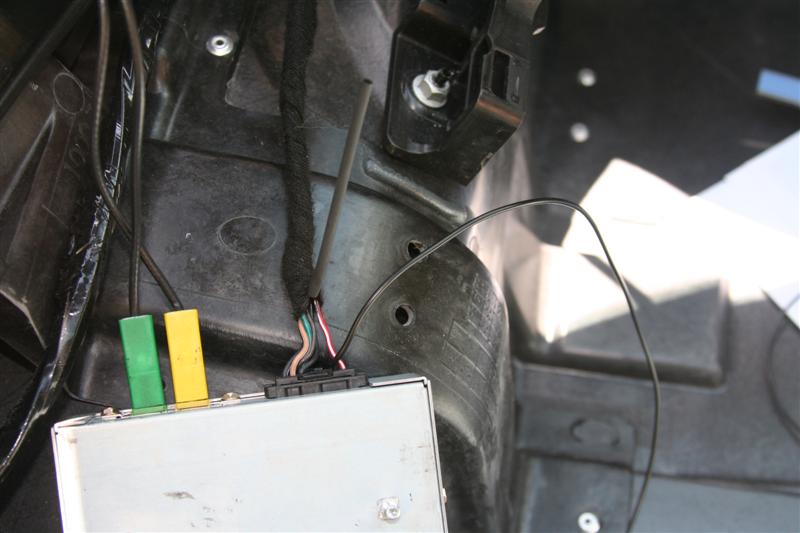
Folded back original Class 2 wire and new wire taped to cable for several inches
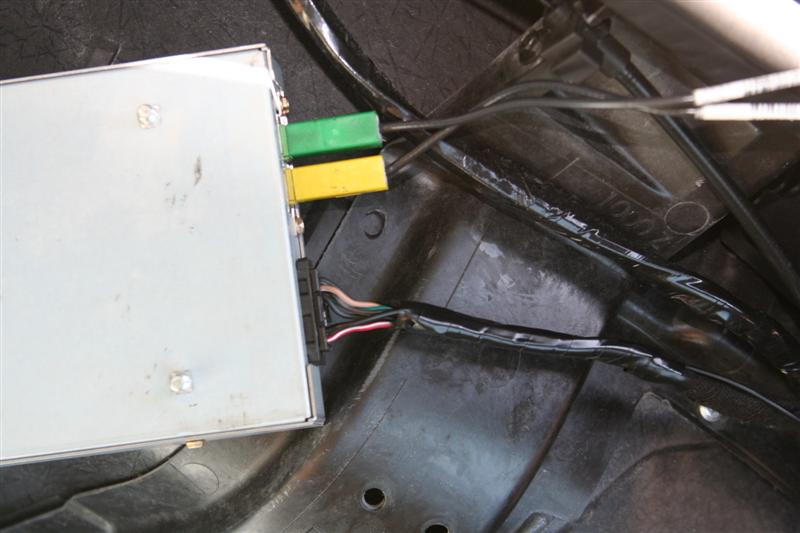
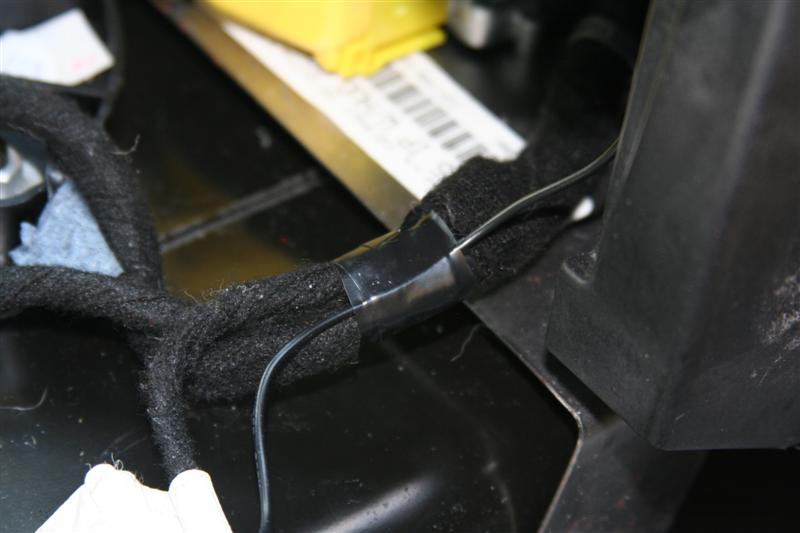
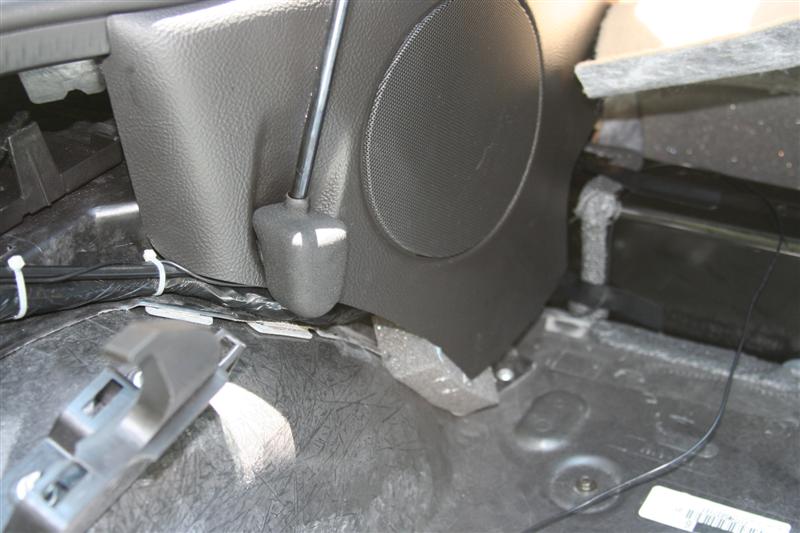
XM Class 2 wire "ty wrapped" to cable going under left rear speaker
panel. Wire was then just pushed into opening under speaker
panel. Wire is then run up over the panel behind the drivers seat
near (what I think is) the panel joint (hard to see in this photo).
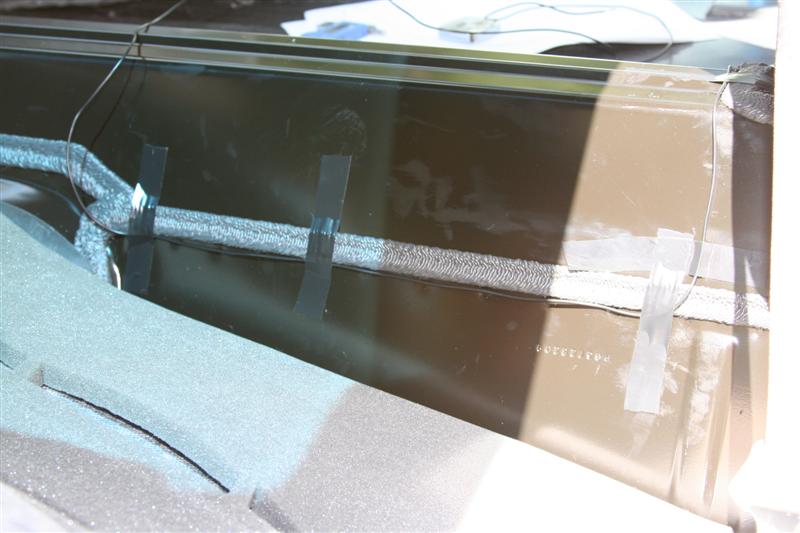
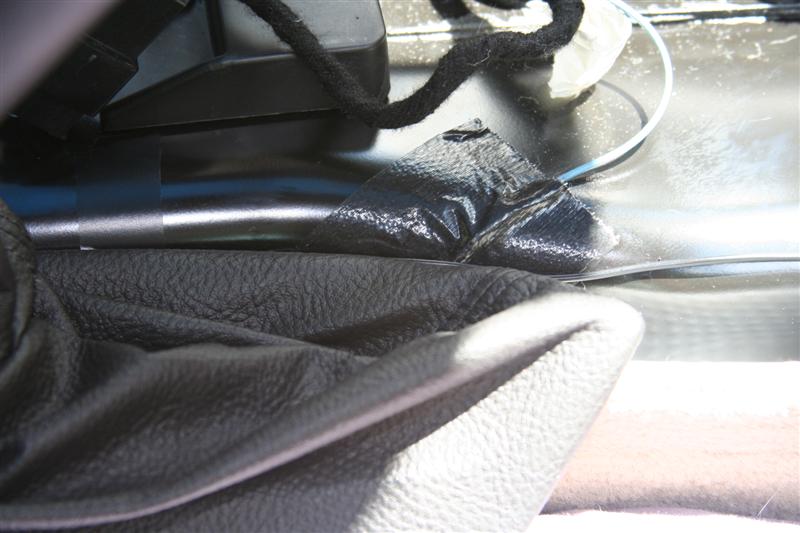
XM Class 2 wire taped to panel behind drivers seat along (what I think is) a panel seam.
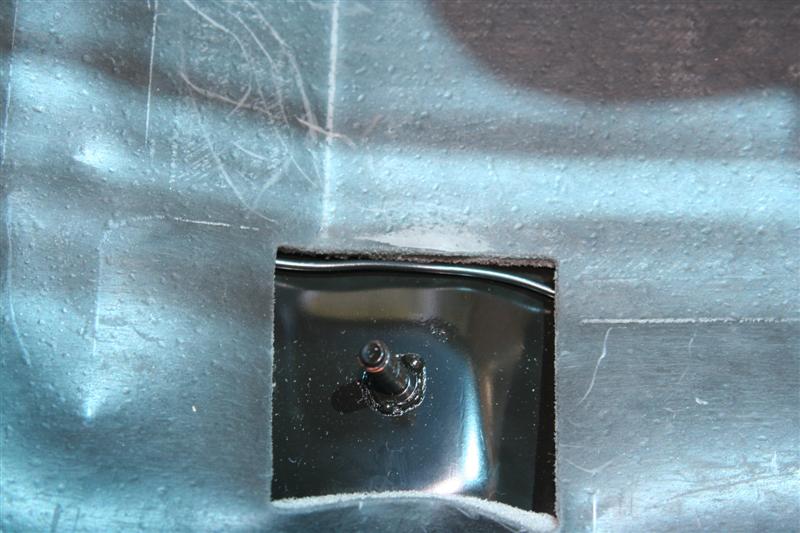
XM Class 2 wire run under rear console foam pad at opening for passenger side rear bolt
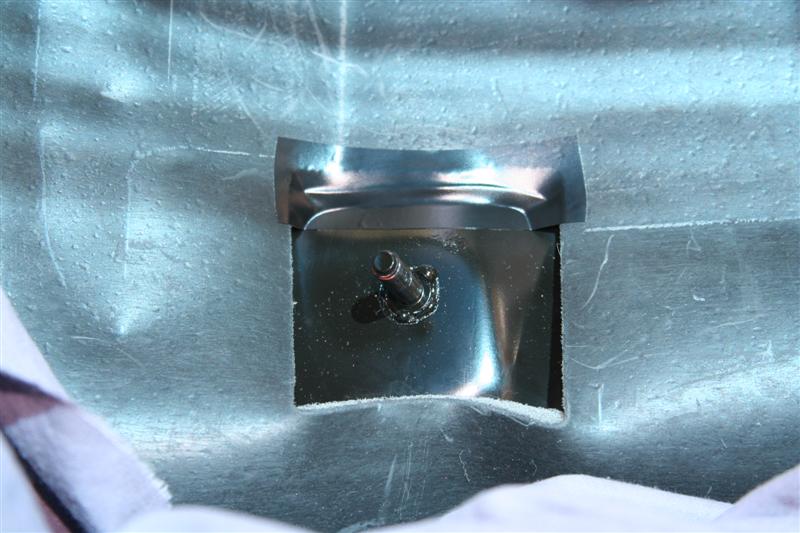
XM Class 2 wire taped at bolt opening
XM Class 2 wire continues toward front of car behind E-brake handle.
XM Class 2 wire joined with PAL Class 2 wire then soldered and covered with heat shrink tubing near front of console.
Class 2 wire coming from PAL taped to harness under the front edge of instrument panel.