C6 Center Console Removal
(updated 4/11/14)
Click here for
main website
Here are the tools you need:
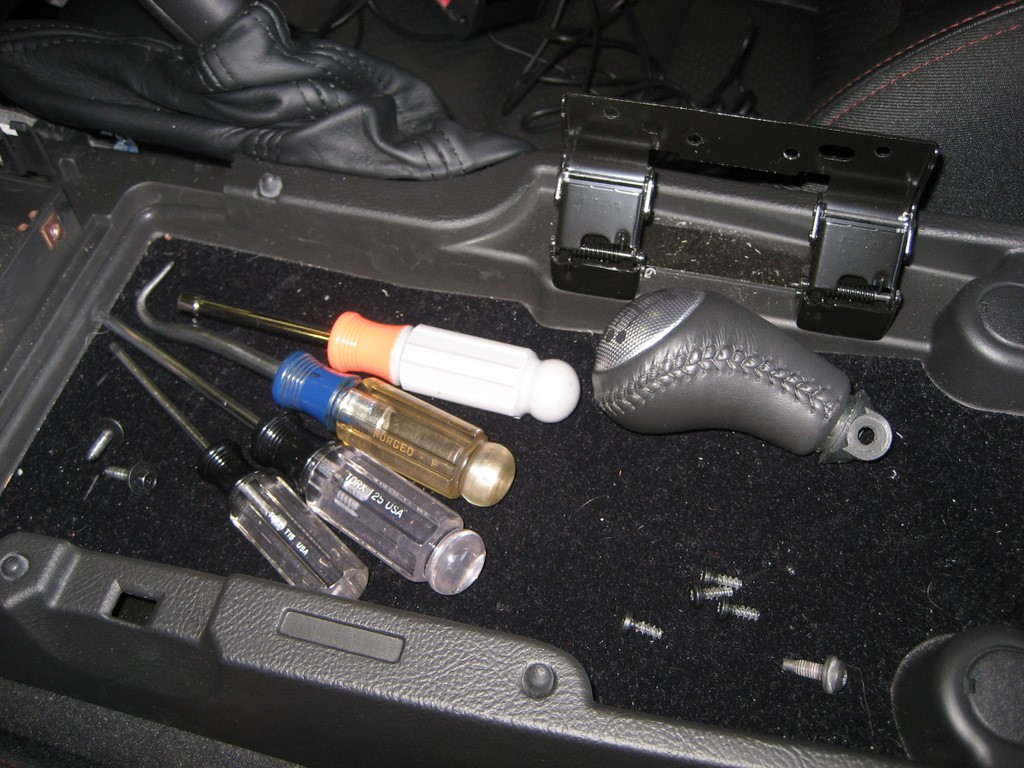
A T15 and T25 Torx driver, a 7mm nut driver, and the I
find the bent tool (cotter pin remover) helpful to later remove the power
connectors.
1. Open your console cover (lid) and remove the cover with a T15 Torx driver (4
small screws).
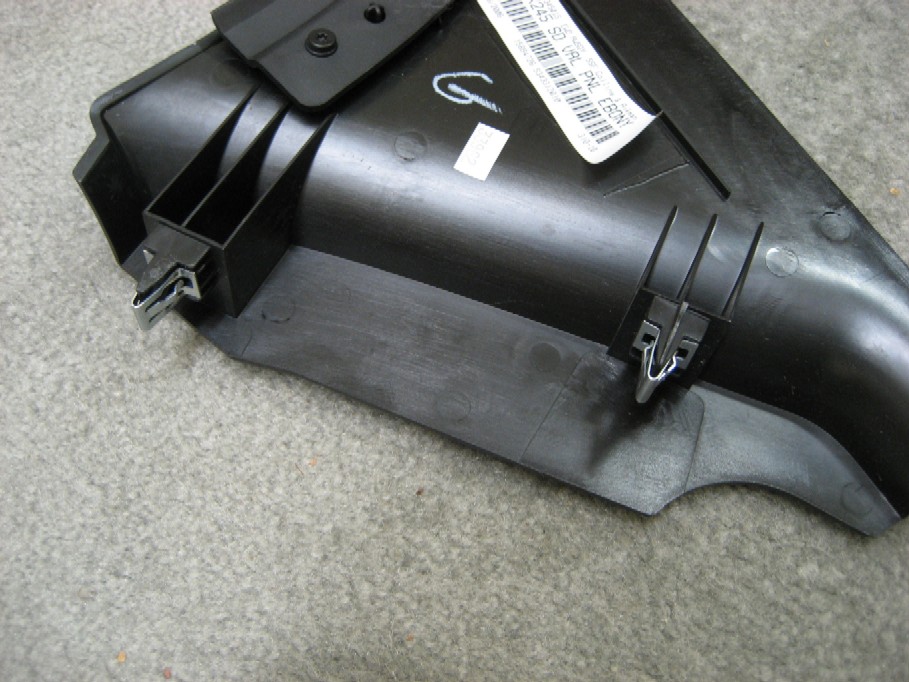
2. Pull up the emergency brake boot in the front and it will
reveal two 7mm screws holding the side trim plate on. Remove the two
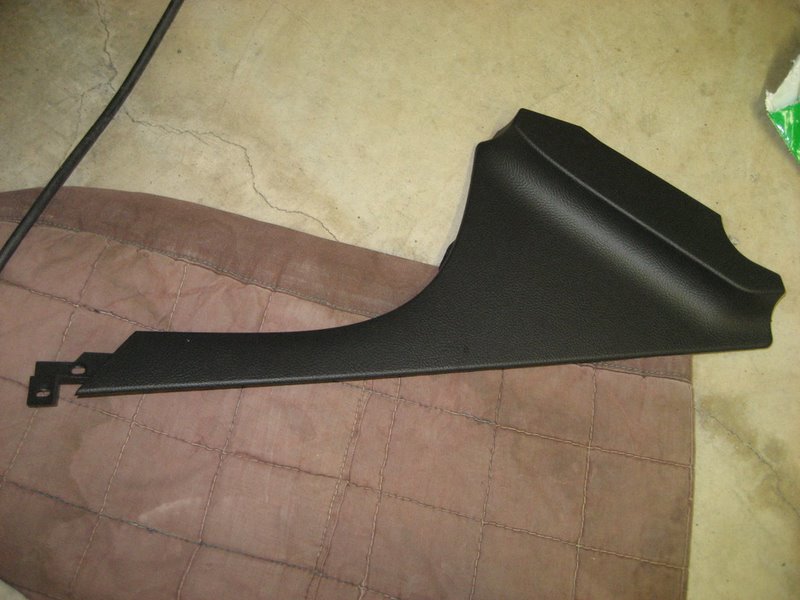
screws and pull down the side trim plate away from the dashboard.
The clips will pull out of the dashboard.
2. For 2005-07 consoles, lift up on the back of the small trim plate (tombstone shaped).
This plate is held in with two snap fasteners, so just lift firmly at the
rear and it will come loose. For 2008 and
later consoles, there is no tombstone plate, so omit this step.
3. Remove the shifter knob. Push down on the leather shifter cover to expose the T-25 Torx screw
holding the shift knob in place. Then remove the knob.
Note this is not necessary for automatic transmission
cars. Instead, pull the shifter all the way
back, by turning on the ignition switch. You'll have to listen to the
dinging while it's in the back position.
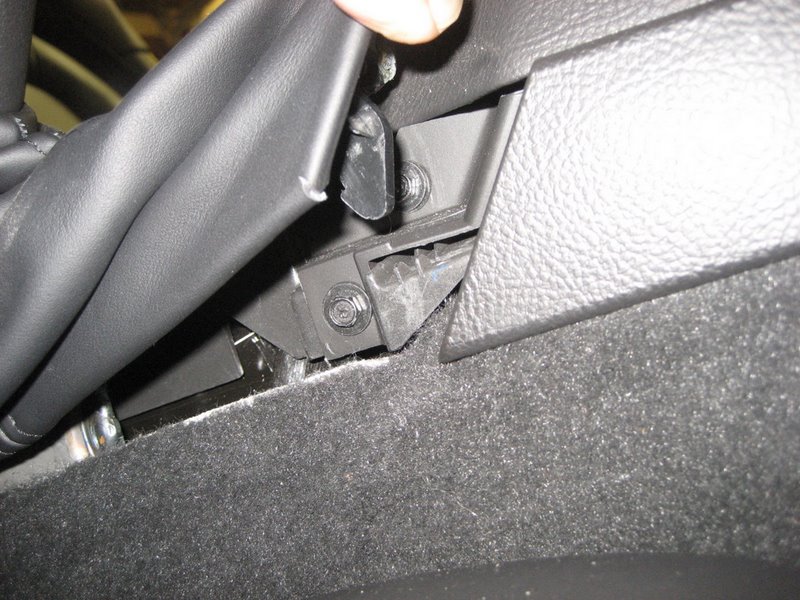
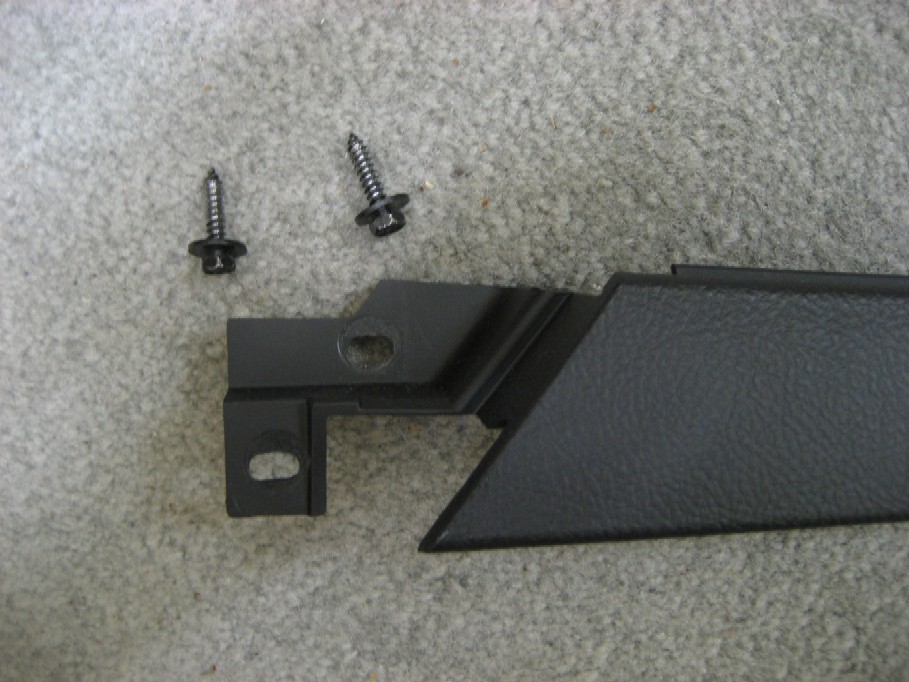
4. Remove the two screws at the rear of the panel inside the
console using a 7 mm nut driver. There may be covers over the two screws
like those shown below:

5. Pull up firmly on the console at the rear and it will come
loose. Notice in the photo below
that there are also snap fasteners at the front (all six are shown in the
blue tape).
As you lift the console, these front fasteners will pop out as you lift.
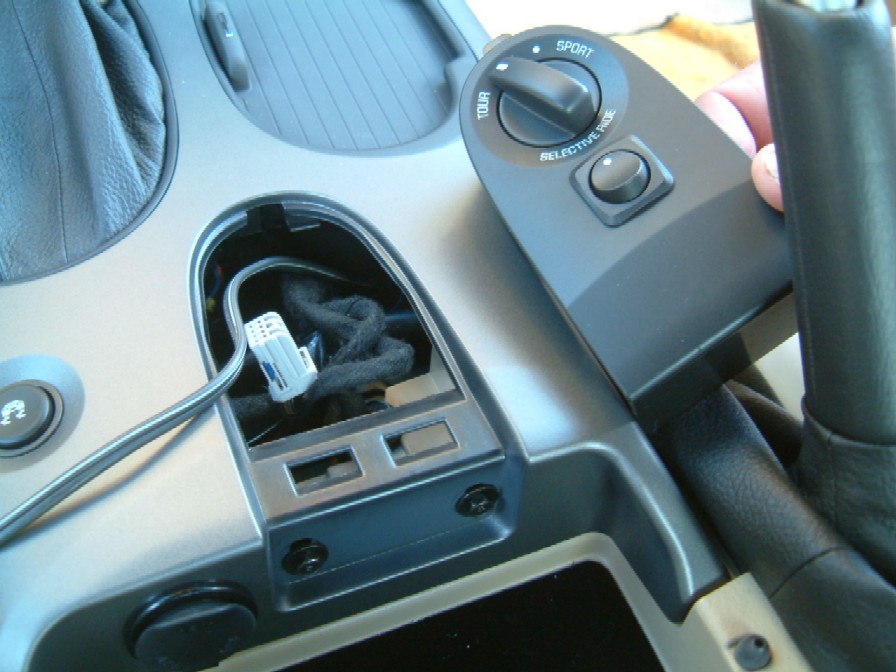
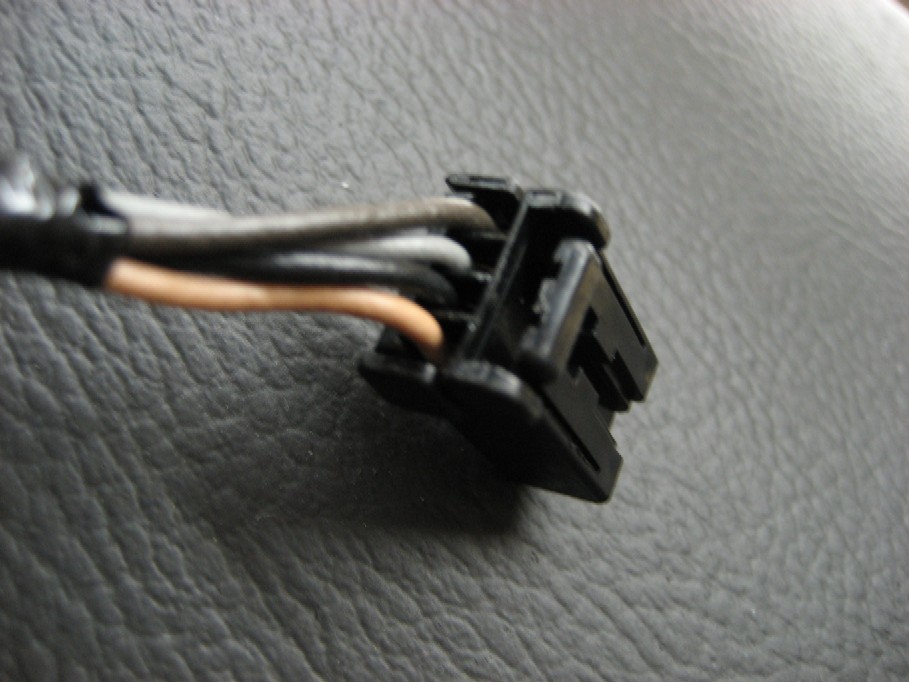
6. Once loose, you will need to disconnect the plugs for the seat
heaters (if you have them), the cigar lighter and console power connector, the traction control switch, and the hazard warning switch.
This is the hard part, and these steps are necessary to get the
console out of the way.
I found it easiest to move the shifter into 2nd gear so it will clear the
console easiest.
Removal of the console
would be a five minute job if it wasn't for these pesky switch connectors.
Once you get them
disconnected, the
console comes right out.
The cigar lighter and the power connector inside the
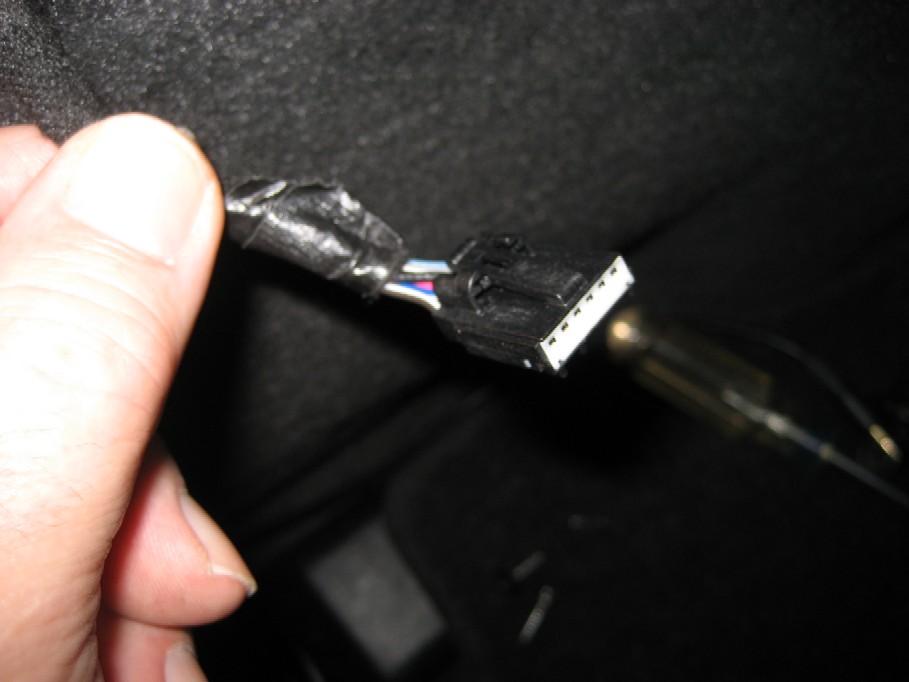
console are the two hardest to remove.

See the little square hole in the brown part? That is
sometimes facing down (as shown) or sometimes up, if your unlucky.
This is where I use the bent tool (cotter
pin remover) shown in the tools photo.
The locking tab is in that square hole. You need
to get a small tool to push in on the tab and once released, the connector will
come right out.
Here's another view of the power connector after it has
been removed from the ashtray assembly (not necessary to remove if all you are
doing is removing the console):
Remember, there are two of these connectors - one in the
console and one next to the ashtray.
Side Note:
The following steps are ONLY for removing
the power connector from the console. You do NOT need to do this if you
only want to remove the console itself.
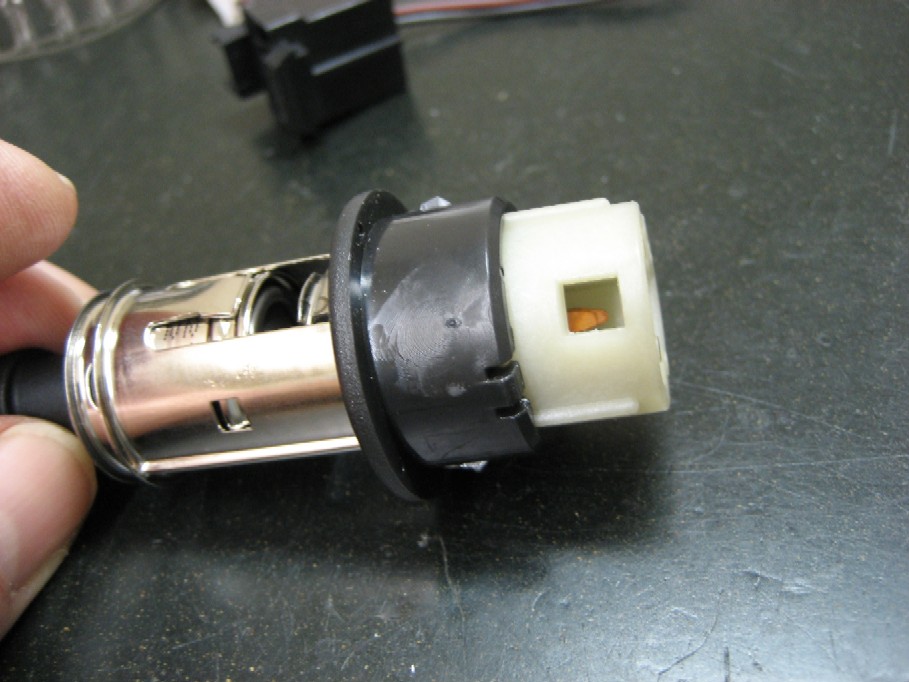
This isn't particularly fun to remove, but here's how you
do it:
1. See the black plastic ring on the connector/lighter
assembly? When it is locked in place, this ring is slid all the way to the
left in this photo, along the chrome metal tube that the lighter plugs into.
2. To remove it from the ashtray, you must be able to
press in the two black locking tabs seen at the top and bottom of the black
ring. This allows it to be released from the hole in the ashtray.
But those locking tabs cannot be pushed in until the black plastic ring is slid
along the tube to the position shown in the photo.
3. So to get the plastic ring slid down the tube to
this position, you need to unlock it from the tube. I'm sure GM has a
simple tool for this, but here is what I did:
A. See the square hole to the
right of my thumb in the photo? Now look to the right at the plastic ring
and you will see the locking tab that locks into that hole. There are two
of these holes and locking tabs (unfortunately), one is on the other side that
you can't see in the photo.
B. This is tricky, but if you
remove the lighter and look down inside the tube from the front, you will see
the two square holes with the locking tabs in them.
C. You must push both locking
tabs out of the square holes, while you push the tube from behind. The
black plastic ring will stay in place on the ashtray while the tube will come
out the front. Without the proper tool, I used two small jewelers
screwdrivers to push hard on both locking tabs while pushing the tube out the
front. You need about six hands to do this, but with a little luck,
patience, and swearing, the tube will pop out the front.
4. Once you get the plastic ring slid down the tube
into the position shown, you should be able to pull the entire lighter assembly,
including the black plastic ring, out of the ashtray assembly. This is
because the two other locking tabs shown at the top and bottom of the plastic
ring will collapse when the ring is in this position.
5. If you ever need to install the lighter/power
connector back into the ashtray or console or whatever you are mounting it to,
it is really simple. You just push the plastic ring into the hole and push
the tube into the ring. So you can see how simple and quick that would be
at the factory. But getting it out is another matter. There is
probably a tool that allows you to push the tabs in the square hole and lock the
tool into those same holes and pull the entire assembly out. Maybe your
local auto parts store might such a tool, but it is probably too expensive to
buy for a one time job.
Another sometimes tricky connector is the Hazard Warning
Switch:
The release tab is on the right in the photo, towards the
ground when in the console.
Push toward the wires to release it.
Here's the switch:
The heated seat switch connector is pretty easy to release:
The release tab is on the top in this photo, but on the
bottom when inserted into the switch:
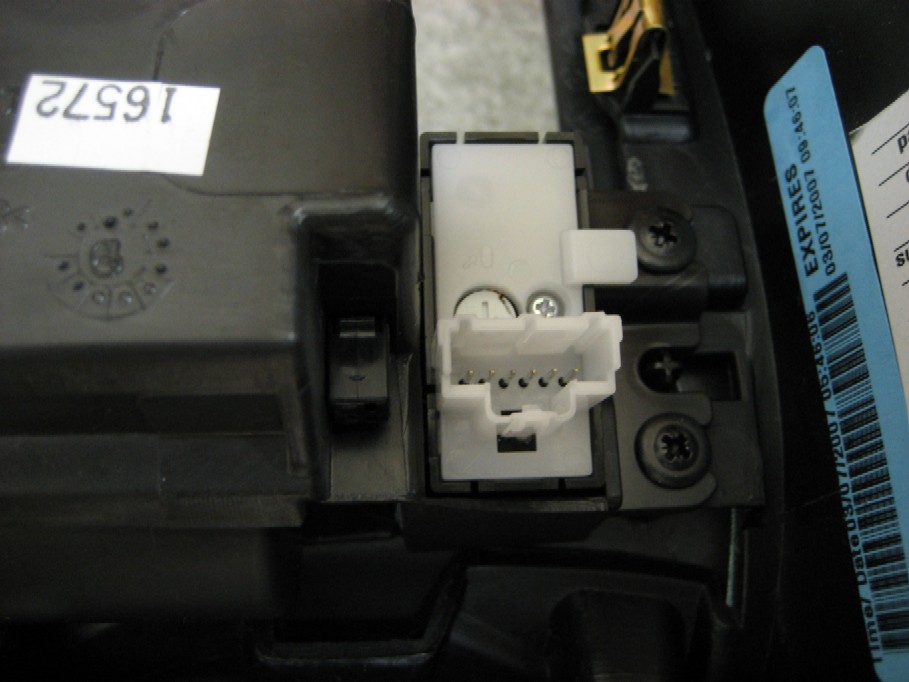
Remember there are two of them.
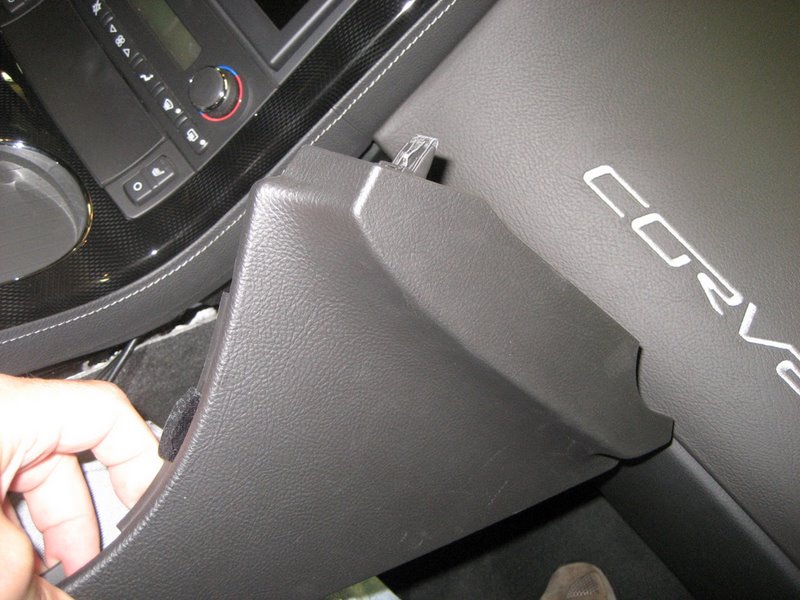
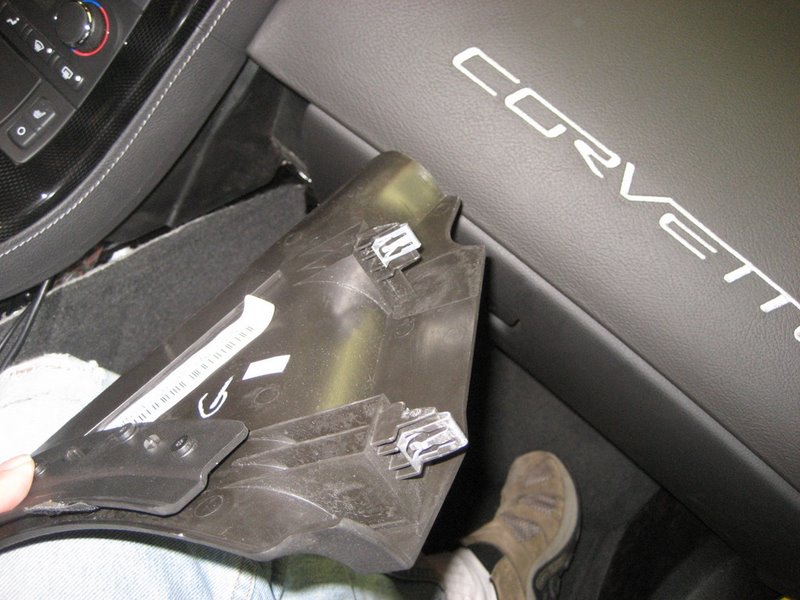
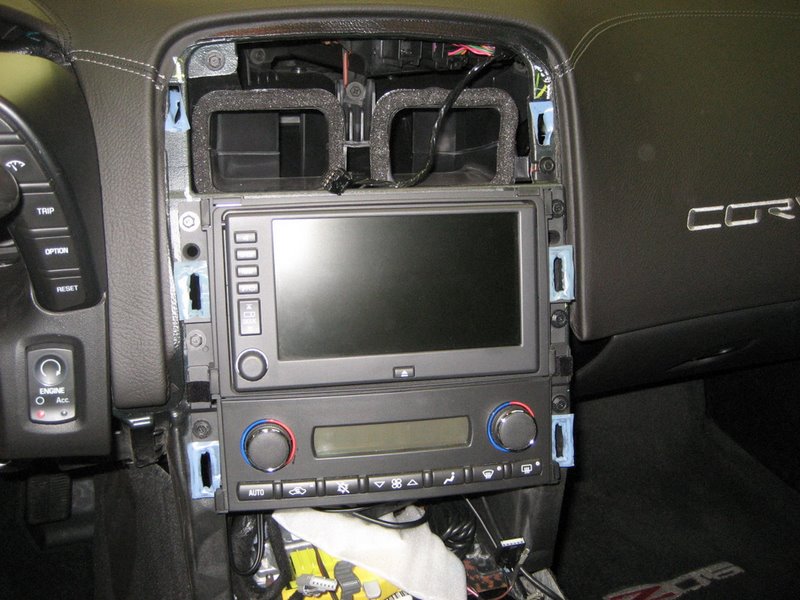
7. Lay the center console on the passenger seat out of the way. Once
done, you will see what is in the photo above.
8. Remove the two screws holding the heater controls in place, pull it
out a bit, and lay it down.
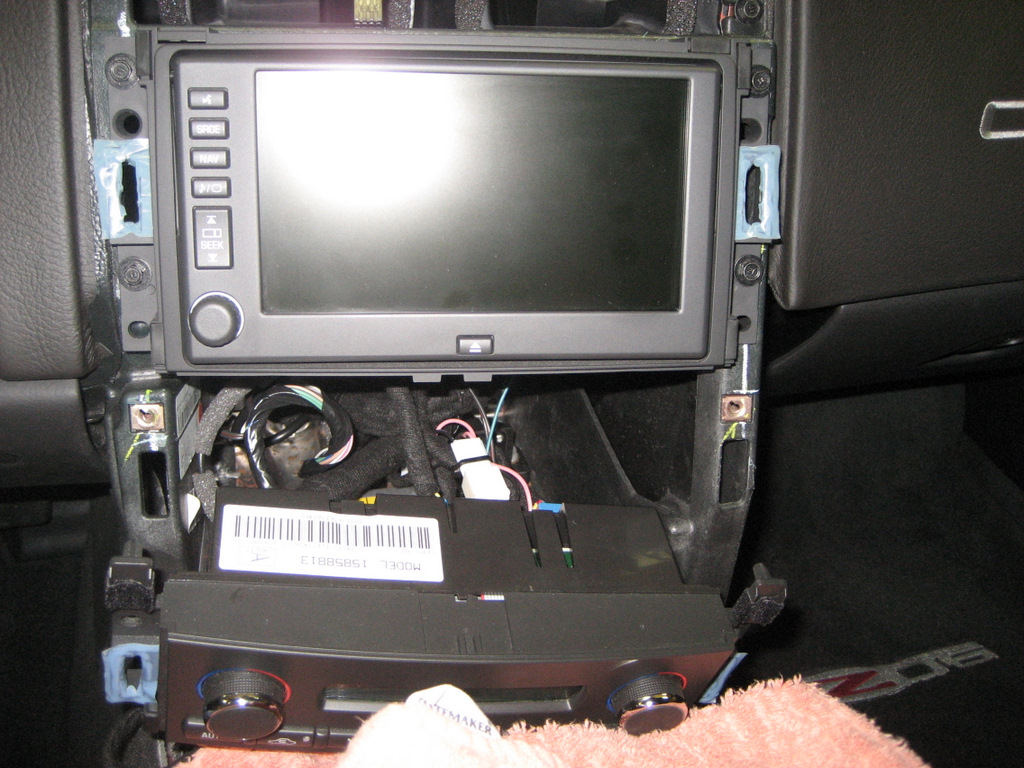
9. Remove the four screws holding the nav unit in place, and pull it
out enough to get to the rear plugs.
Find some padding to lay on top of the shifter know
to prevent scratching the face of the nav unit.
Be VERY careful not to scratch the Nav
display. It is very soft and fragile and it will cost you hundreds of
dollars to get it or the entire radio replaced!

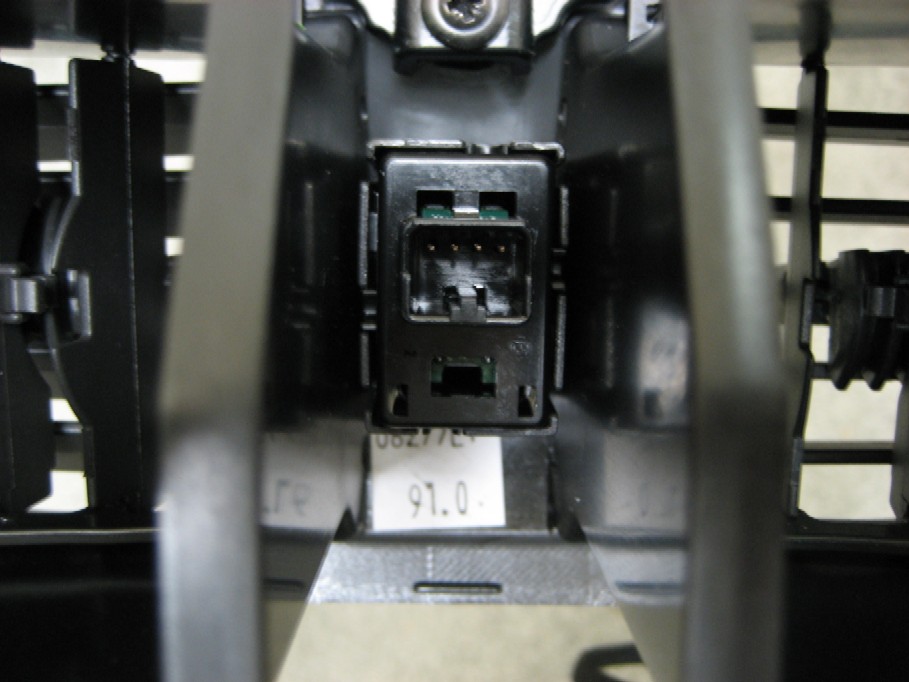
10. The Connector C1 is the 24 pin connector on the
left. Connector C2 is the 12 pin connector on the right.
To remove the connectors, push down on the tab locks and
pull the connector out.
Also,
forum member John Beidl (jbeidl) offered a writeup and photos that will assist
other owners in removing their center consoles and installing a PAL or accessing
the XM receiver. Click HERE
for a link to John's helpful information.
You're done!
Simple, wasn't it?
Good luck on your
project!